This is a resource that can be used to send an email showing the way a computer and a VoIP phone is connected in a typical LAN.
Sometimes you will have to explain to a client how the computers and phones are connected but the client might have difficulty understanding the physical aspects of how or what is used to accomplish connecting the equipment properly. Use instructional E-Mail set of Templates to help the client understand this using pictures via email or text.
E-Mail Template 1
Network Cable or a CAT5 Cable E-Mail Template
Start of Copy Bellow:
Hi
To help you understand what some of the components are and what they look like we at CEG are sending this email to you so we can better serve you.
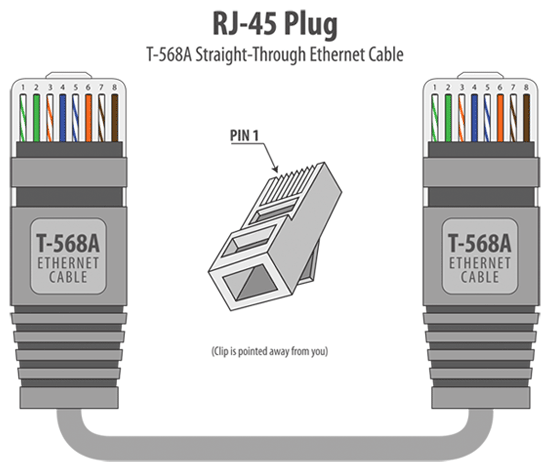
This is a Network Cable or a CAT5 Cable. This is what connects the – phones – computers – switches – routers – modems to the internet.
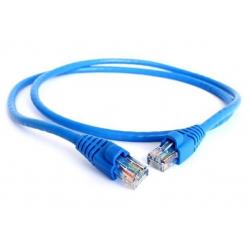
Picture of a network cable.
This is a picture of the end of the Network Cables – This is what you plug into the wall – phones – computers – switches – routers – modems.
Cat5e Cables | Cat6 Cables.
Thanks and I hope this helps.
End of Copy Above:
E-Mail Template 2
Understanding the components for the VoIP Phone and Computer Combo Email Template.
Start of Copy Below:
Hi
To help you understand what some of the components are and what they look like we at CEG are sending this email to you so we can better serve you.
This is how you connect a VoIP Phone to a Computer so they can both use the same internet connection.
- Connect the network cable to the LAN jack on the wall.
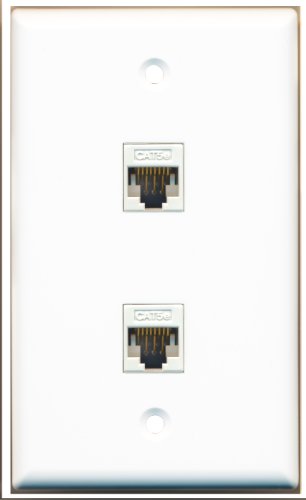
Connect the Network Cable to the Wall Jack.
- Connect the network cable from the Wall Jack to the phone. Make sure the cable is plugged into the LAN Port on the VoIP Phone.
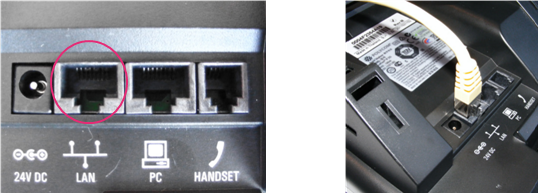
- Connect the Computer to the PC Port on the VoIP Phone.
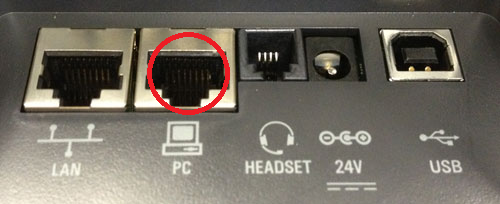
The picture below shows the Wall to Phone to Computer setup also known as the “Daisy Chain Network Configuration”.
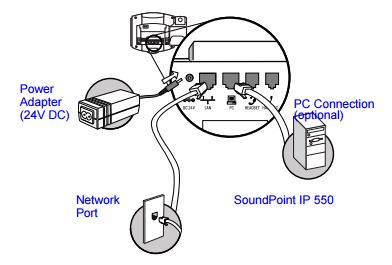
Daisy Chain Network Configuration
Thanks and I hope this helps.
End of Copy Above:
E-Mail Template 3
Daisy Chain Network Configuration
Send Picture Bellow:
E-Mail Image 2 to the client to show the Wall to Phone to Computer Setup also known as the “Daisy Chain Network Configuration”.
image 2