Configuring a user profile on the PBX
In order for extension users to access Virtual Office features and applications, they must have a User Profile assigned to their extension (it is not enough to simply add Caller ID or edit other extension settings).You can create and manage User Profiles in Account Manager. You can create profiles one at a time, or upload multiple profiles from a *.CSV file.
Single User Profile
- Log in to Account Manager.
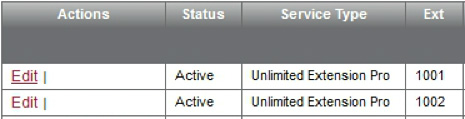
- Click Phone System > View All Extensions.
- Click Edit under Actions, for the extension you wish to create.
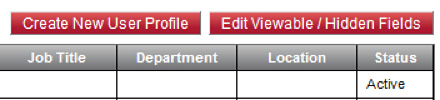
- Under Extension Information, click Create New User Profile.

- Complete information in the pop-up window, and click Save. (First and Last Name, Email Address and User Name are required.)
- Click Save Changes on the bottom of the Edit Extension screen to automatically associate the new profile with this extension.
Multiple User Profiles
You can create multiple User Profiles by using a User Profile CSV Template with up to three customizable fields.
To define custom fields in the User Profile CSV Template:
(If you will not be using custom fields, skip to Create or edit multiple User Profiles, below.)
- In Account Manager, click My Account > User Profiles.
- Click Edit Viewable/Hidden Fields.
- In the pop-up window, check the box next to Custom Field 1.
- Name the field by typing in the adjacent Header label box.
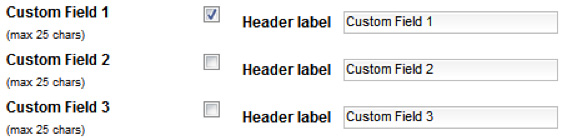
- Define header labels for Custom Fields 2 and 3 (if desired).
- Click Save.
- Click OK.
To create or edit multiple User Profiles:
- In Account Manager, click My Account > User Profiles.
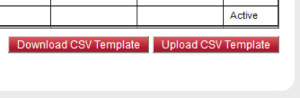
- Click Download CSV Template button at the bottom of the screen.
Note: If using custom fields, before downloading the template, make sure that you have labeled the fields by following the instructions above. - Open the file.
- Enter information for new User Profiles, or edit information for current profiles.
Important: Do NOT make any changes to the 8×8 Internal ID column! - Save the file to your computer hard drive.
- On the User Profile page, click Upload CSV Template, then Proceed.
- Click Add, locate the file and click Open, then Upload.
- Verify that the new information is correct.
- Click Submit. All of the new and edited User Profiles are now available and ready to be assigned to extensions.
