CEG is the Admin for the PBX for YES Communities and is responsible for setting up Cost Centers.
Cost Centers:
A cost center allows you to keep track of expenses for each department, branch, or location. For example, if your company has branches in multiple geographic locations, you can create a cost center for each branch and track the expenses individually. When you create a cost center manually, you must add accounts to the cost center. Each account is based on a service type. For services:
- Add-on services added to extensions associated with a branch are automatically reflected in the cost center.
- New services added to branches are automatically reflected in the cost center.
Create a Cost Center Manually:
You can create cost centers manually, or automatically if you have branches.
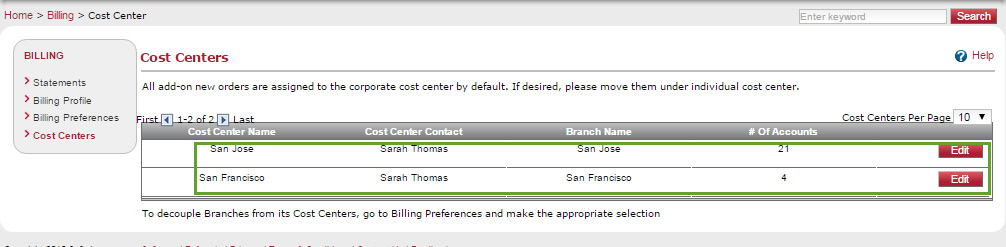
To access cost centers, go to Billing > Cost Centers.
You now see a list of cost centers for your existing branches.
In the manual setup, define a cost center based on accounts but not mapped to branches. Changes done to branches are not reflected in cost centers.
To create cost centers:
- Click Billing in the top navigation bar.
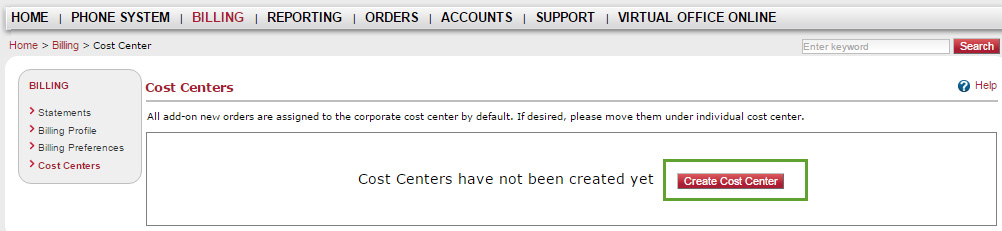
- In the Billing menu, click Cost Centers.
- Click Create Cost Center.
4. Enter a Cost Center Name, and click Add Accounts.
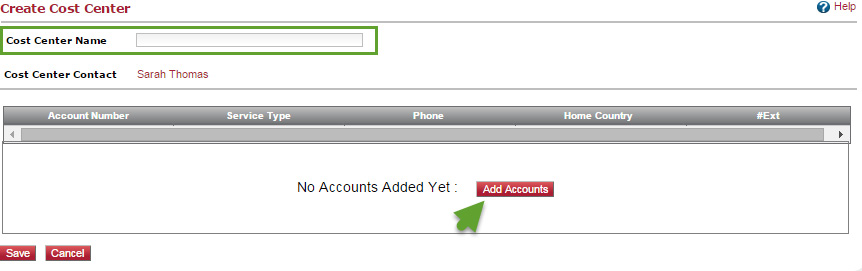
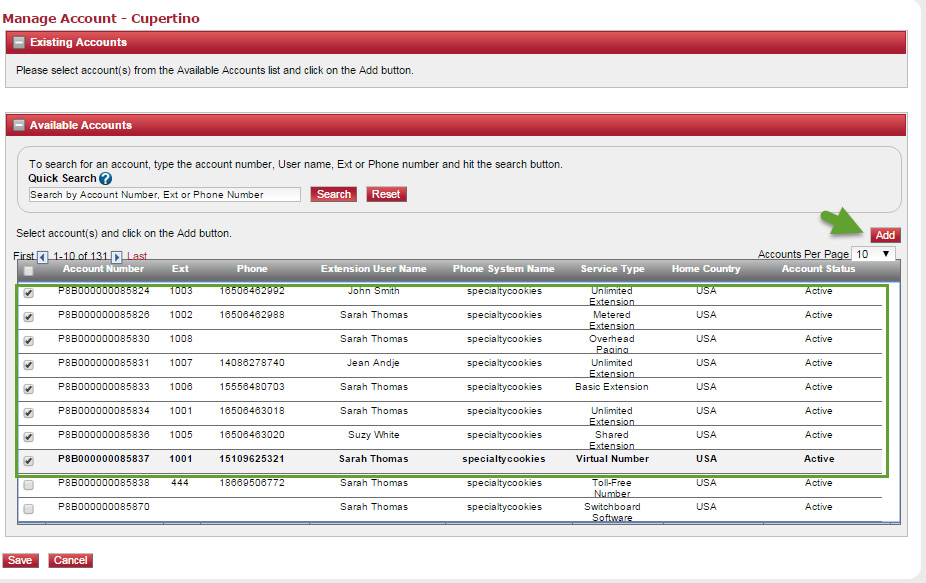
- A list of available accounts appears. Select the ones you wish to add to your cost center. You must add at least one account. You can add or delete accounts to an existing cost center at any time.
- Click Add.
- Click Save.
The cost center is created and added to the list. - Click Edit to rename or manage the cost center accounts, or click Delete if you wish to remove the cost center.
Manage Cost Center Accounts:
When you create a cost center, you must add accounts to it. Each account is based on service types such as Unlimited Extension, Call Queue, Virtual Office Online, or Virtual Extension. When you add new services to your PBX, the new accounts show up under Corporate Cost Center in your statement. To assign these accounts to the desired cost center, edit the cost center, and go to Manage Accounts.
To manage accounts:
- Click Billing in the top navigation bar.
- In the Billing menu, click Cost Centers.
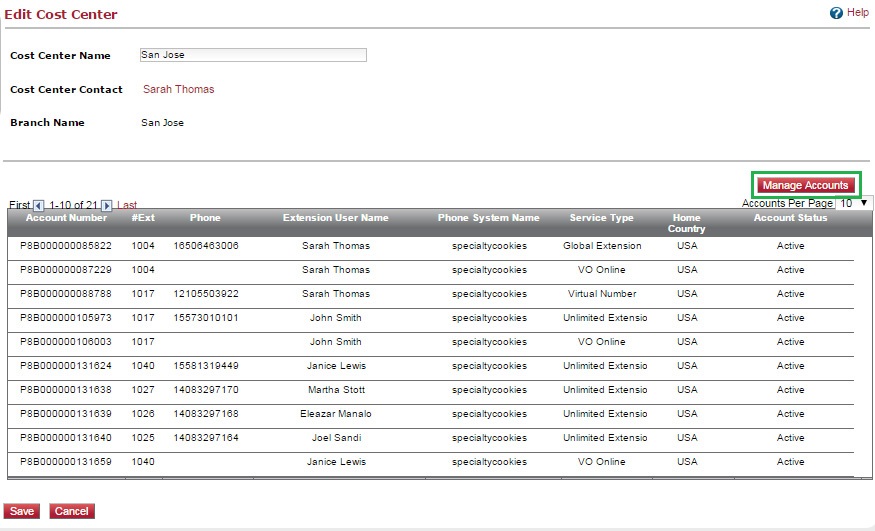
- Click Edit next to the cost center in the list.
A list of accounts, extension numbers, and extension users appears. - Click Manage Accounts.
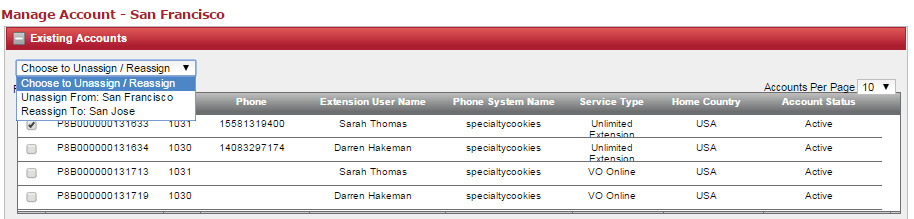
- Select a check box by an account under Existing Accounts.
The Choose to Assign / Reassign option box appears under Existing Accounts. - Select an option from the drop-down list. You can choose to unassign an account from its current branch and assign it to another.
To add a new account to the selected cost center:
- Select a check box by an account under Available Accounts.
- Click Add.
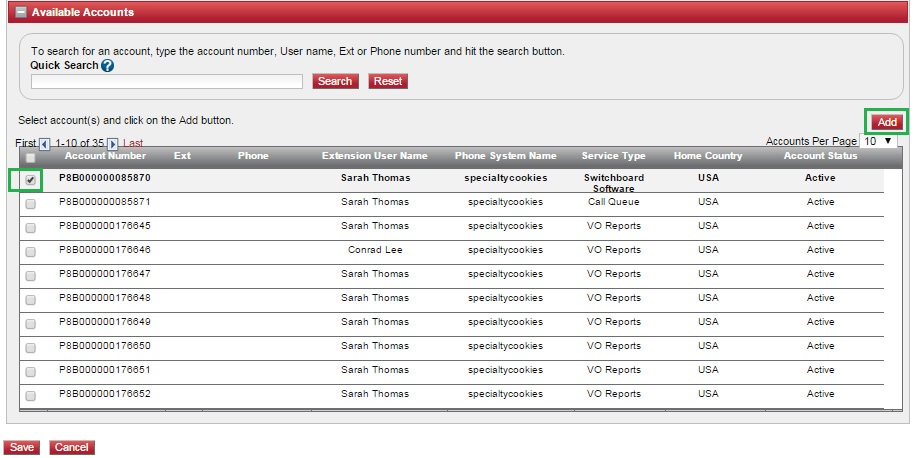
The selected account is added to the existing accounts.
- Click Save.
The cost center is created and added to the list. - Click Edit to rename or manage the cost center accounts, or click Delete if you wish to remove the cost center.
