Forward Calls on the PBX
There are several ways to forward calls. Each extension, Ring Group, and Auto Attendant on your account can have its own forwarding rules.
To set forwarding rules through Account Manager
For a single extension
- Log in to your Account Manager.
- Click Phone System > View All Extensions.
- Find the extension whose forwarding rules you wish to set, then click Edit to the left.
- Scroll down to the Call Forwarding section and click the + sign to expand.
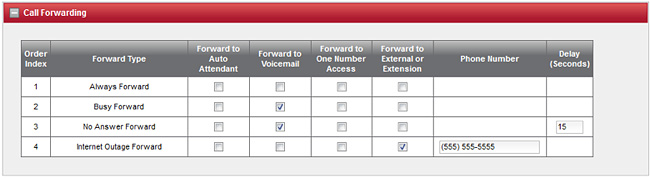
- Review the Forward Type (conditions in which a call is forwarded) and forwarding destination columns. You can decide to always forward under any circumstance, or you can configure rules for Busy, No Answer, andInternet Outage individually. You can forward calls to an Auto Attendant, voicemail, a list of numbers, a single extension or an external number every time your extension is dialed directly.
- When your rules are set, click Save Changes at the bottom left of the page.
For a Ring Group
-
- Log in to your Account Manager.
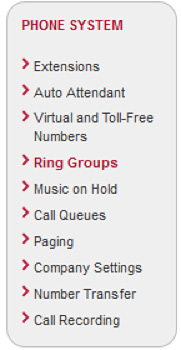
- Click Phone System.
- In the gray box to the left, find and click Ring Groups.
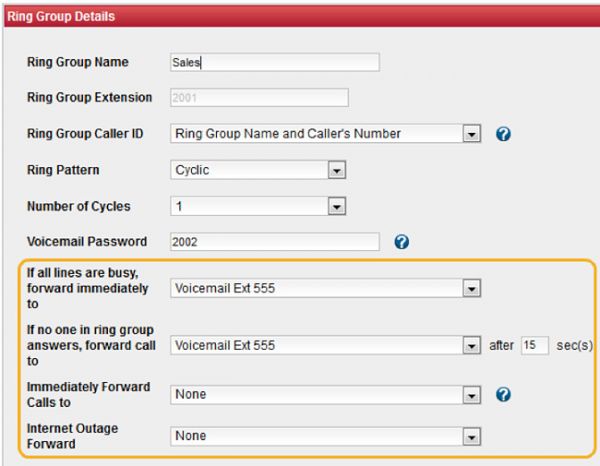
- Find the Ring Group whose forwarding rules you wish to set, then click Edit to the right.
- The forwarding conditions are located in the lower half of the Ring Group Details box (below Voicemail Password). Ring Group calls can only be forwarded to one of these internal destinations: an internal extension, an Auto Attendant, or the group voicemail.
- When your rules are set, scroll to the bottom of the page and click Save.
For Auto Attendant
The Auto Attendant has the ability to forward calls based on various circumstances, including date and time. It can forward internally to all locations or to external sources. Forwarding rules are available when you create the Auto Attendant.
Through Virtual Office applications
Forwarding rules for all calls directed to your own extension can also be set within any of 8×8’s Virtual Office applications: Virtual Office Desktop, Online, or Mobile for Android and iOS.
To set forwarding rules for your extension through a Virtual Office application, navigate to the application’s Settings and open the options for Call Forwarding. From here, you can enable all calls to forward to a single destination, or you can create custom rules.
To create a custom forwarding rule, click + Add New Rule and review the various options. When you are ready to set your rule, click Save. When you are done creating rules, click Save once more in the Call Forwarding window withinSettings. Your changes will be saved and you can exit Settings.